
Properties
Area Coverage (sq.m./bag)
| Size of notched trowel | 3 mm | 6 mm | 9 mm | 12 mm |
| Approximate area coverage | 12 sq.m. | 6 sq.m. | 4 sq.m. | 3 sq.m. |
Pack Size: 20 kg/bag
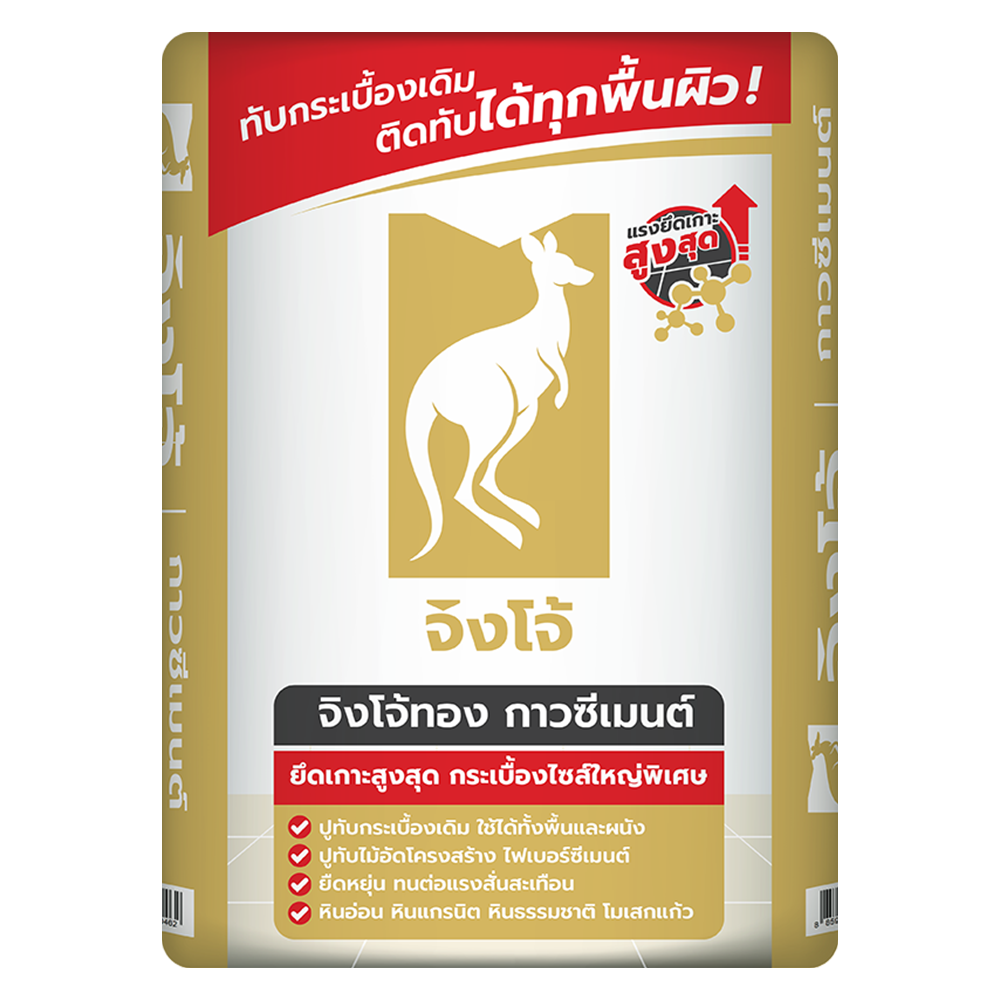
GOLDEN KANGAROO Highest Strength Tile Adhesive Mortar is suitable for extra large tiles 100×100 cm and above. Excellent flexibility, can withstand vibrations, highly durable in all weather conditions. Can be installed over the existing tiles without the need for tile removal. Can be used on all surface such as plywood, fiber cement board, viva board and cement board. Ideal for indoor and outdoor applications. Suitable for general tiles, ceramics, mosaic, porcelains, and granito.
Mixing Process
Tile Adhesive Mixing
Mix 20 kilograms (1 bag) of GOLDEN KANGAROO with 5.2 liters of water. Or Mix GOLDEN KANGAROO with water in a ratio of 2.7:1. Mix the mixture until it forms a consistent texture without lumps. There are two types of mixtures.
Work Process
Preparations
– Clean and dry the tiles before installation (do not soak the tiles in water).
– For newly plastered or leveled surfaces, allow a curing time of at least 7 days.
– The surface to be tiled must be smooth and strong with no cracks.
– In case of wet areas such as bathrooms and kitchens, it is recommended to install a waterproofing system before tiling to prevent water leakage.
– If the surface has been painted, remove the painting before tiling.
– Before tiling, draw dividing lines to ensure proper alignment.
– For the surfaces with roughness and high water absorption, prime the surface with thin layer of water before tiling.
Tile Installation
Observe the consistency of the adhesive by:
Precautions
– Avoid applying the adhesive in small spots after laying the tiles causing the tiles to become fragile and easily broken.
– Avoid installing tiles in direct sunlight or surface with high temperatures, as it can reduce the adhesion strength.
– If the adhesive comes into contact with skin or face, rinse thoroughly with water and soap.
Storage
Keep in dry and shaded area. – 12 months of shelf life.
Suggestions
– Do not soak the tiles in water before installation
– Once mixed with water, it is recommended to use within 2 hours.
– For wall tile installation, recommended for tiles sized 60×60 cm above. Vertical alignment is recommended.
– In case of tiling over existing tiles, check the bonding capacity between tiles and concrete surface. If the bonding capacity is low, the existing tiles should be removed.
**Application area of each product It is an approximate area only. Excluding losses from actual use.

Quick Coat Products Co., Ltd. is a manufacturer and distributor of PLUMB and KANGAROO Mortar.
Quick Coat Products Co., Ltd.
184 Village No.7, Nakhon In Road, Bang Khu Wiang,Bamg Kruai, Nonthaburi, 11130